12 foolproof techniques to dry your flowers and plants and create sustainable decorations
Published on May 3, 2024
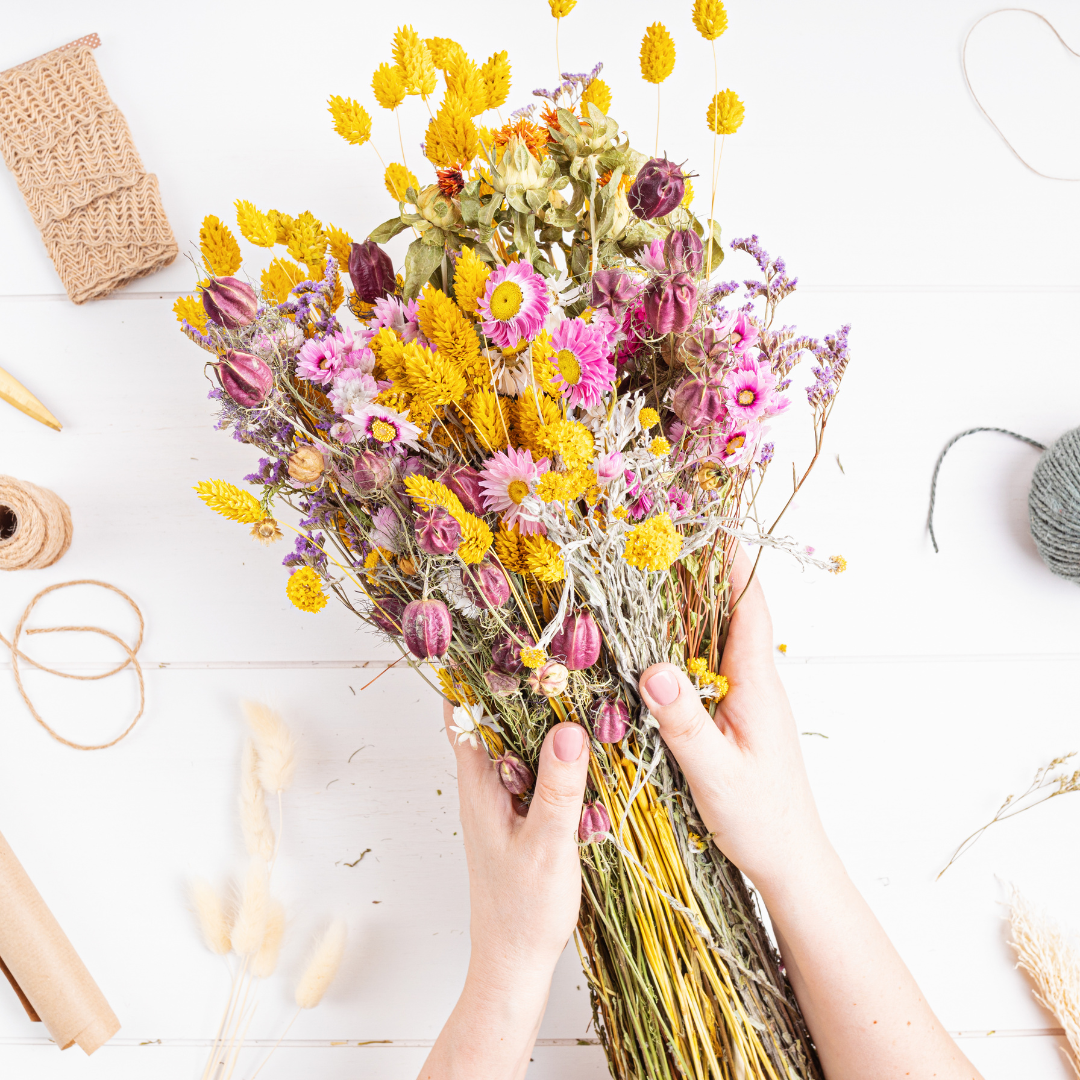
How to Dry Flowers and Plants
Knowing how to dry flowers and plants is essential to preserve their beauty and extend their lifespan. In this article, we'll explore 12 different techniques for drying your flowers and plants, with an emphasis on preserving their color and shape.
The Trend of Dried Flowers: How to Cultivate Them at Home?
Dried flowers have seen a growing trend in recent years, becoming essential elements in our interiors. But how can you produce them yourself for a personalized and sustainable touch?
Plant, Flower, and Leaf Drying Methods: Essential Techniques
- Drying plants is an essential practice, particularly for flowers and large plants. Its main advantages lie in its simplicity and lightweight nature.
Some plants wilt before they have the chance to fully dry. For these specimens, a combined technique is recommended: using water in addition to air drying. Fill a vase with 4-5 cm of water (no more!) and place the flowers, cut at an angle, in it. As the water evaporates, the plants will begin to dry.
Once the buds have slightly wilted, remove the flowers from the vase and trim the ends of the submerged stems to prevent mold formation. Then, lay the flowers horizontally on cardboard or paper to dry completely.
This method is particularly suitable for the following plants: artichokes, heathers, carnations (after full bloom), baby's breath, hydrangeas, lavenders, bulbs, yarrows, chicories, etc
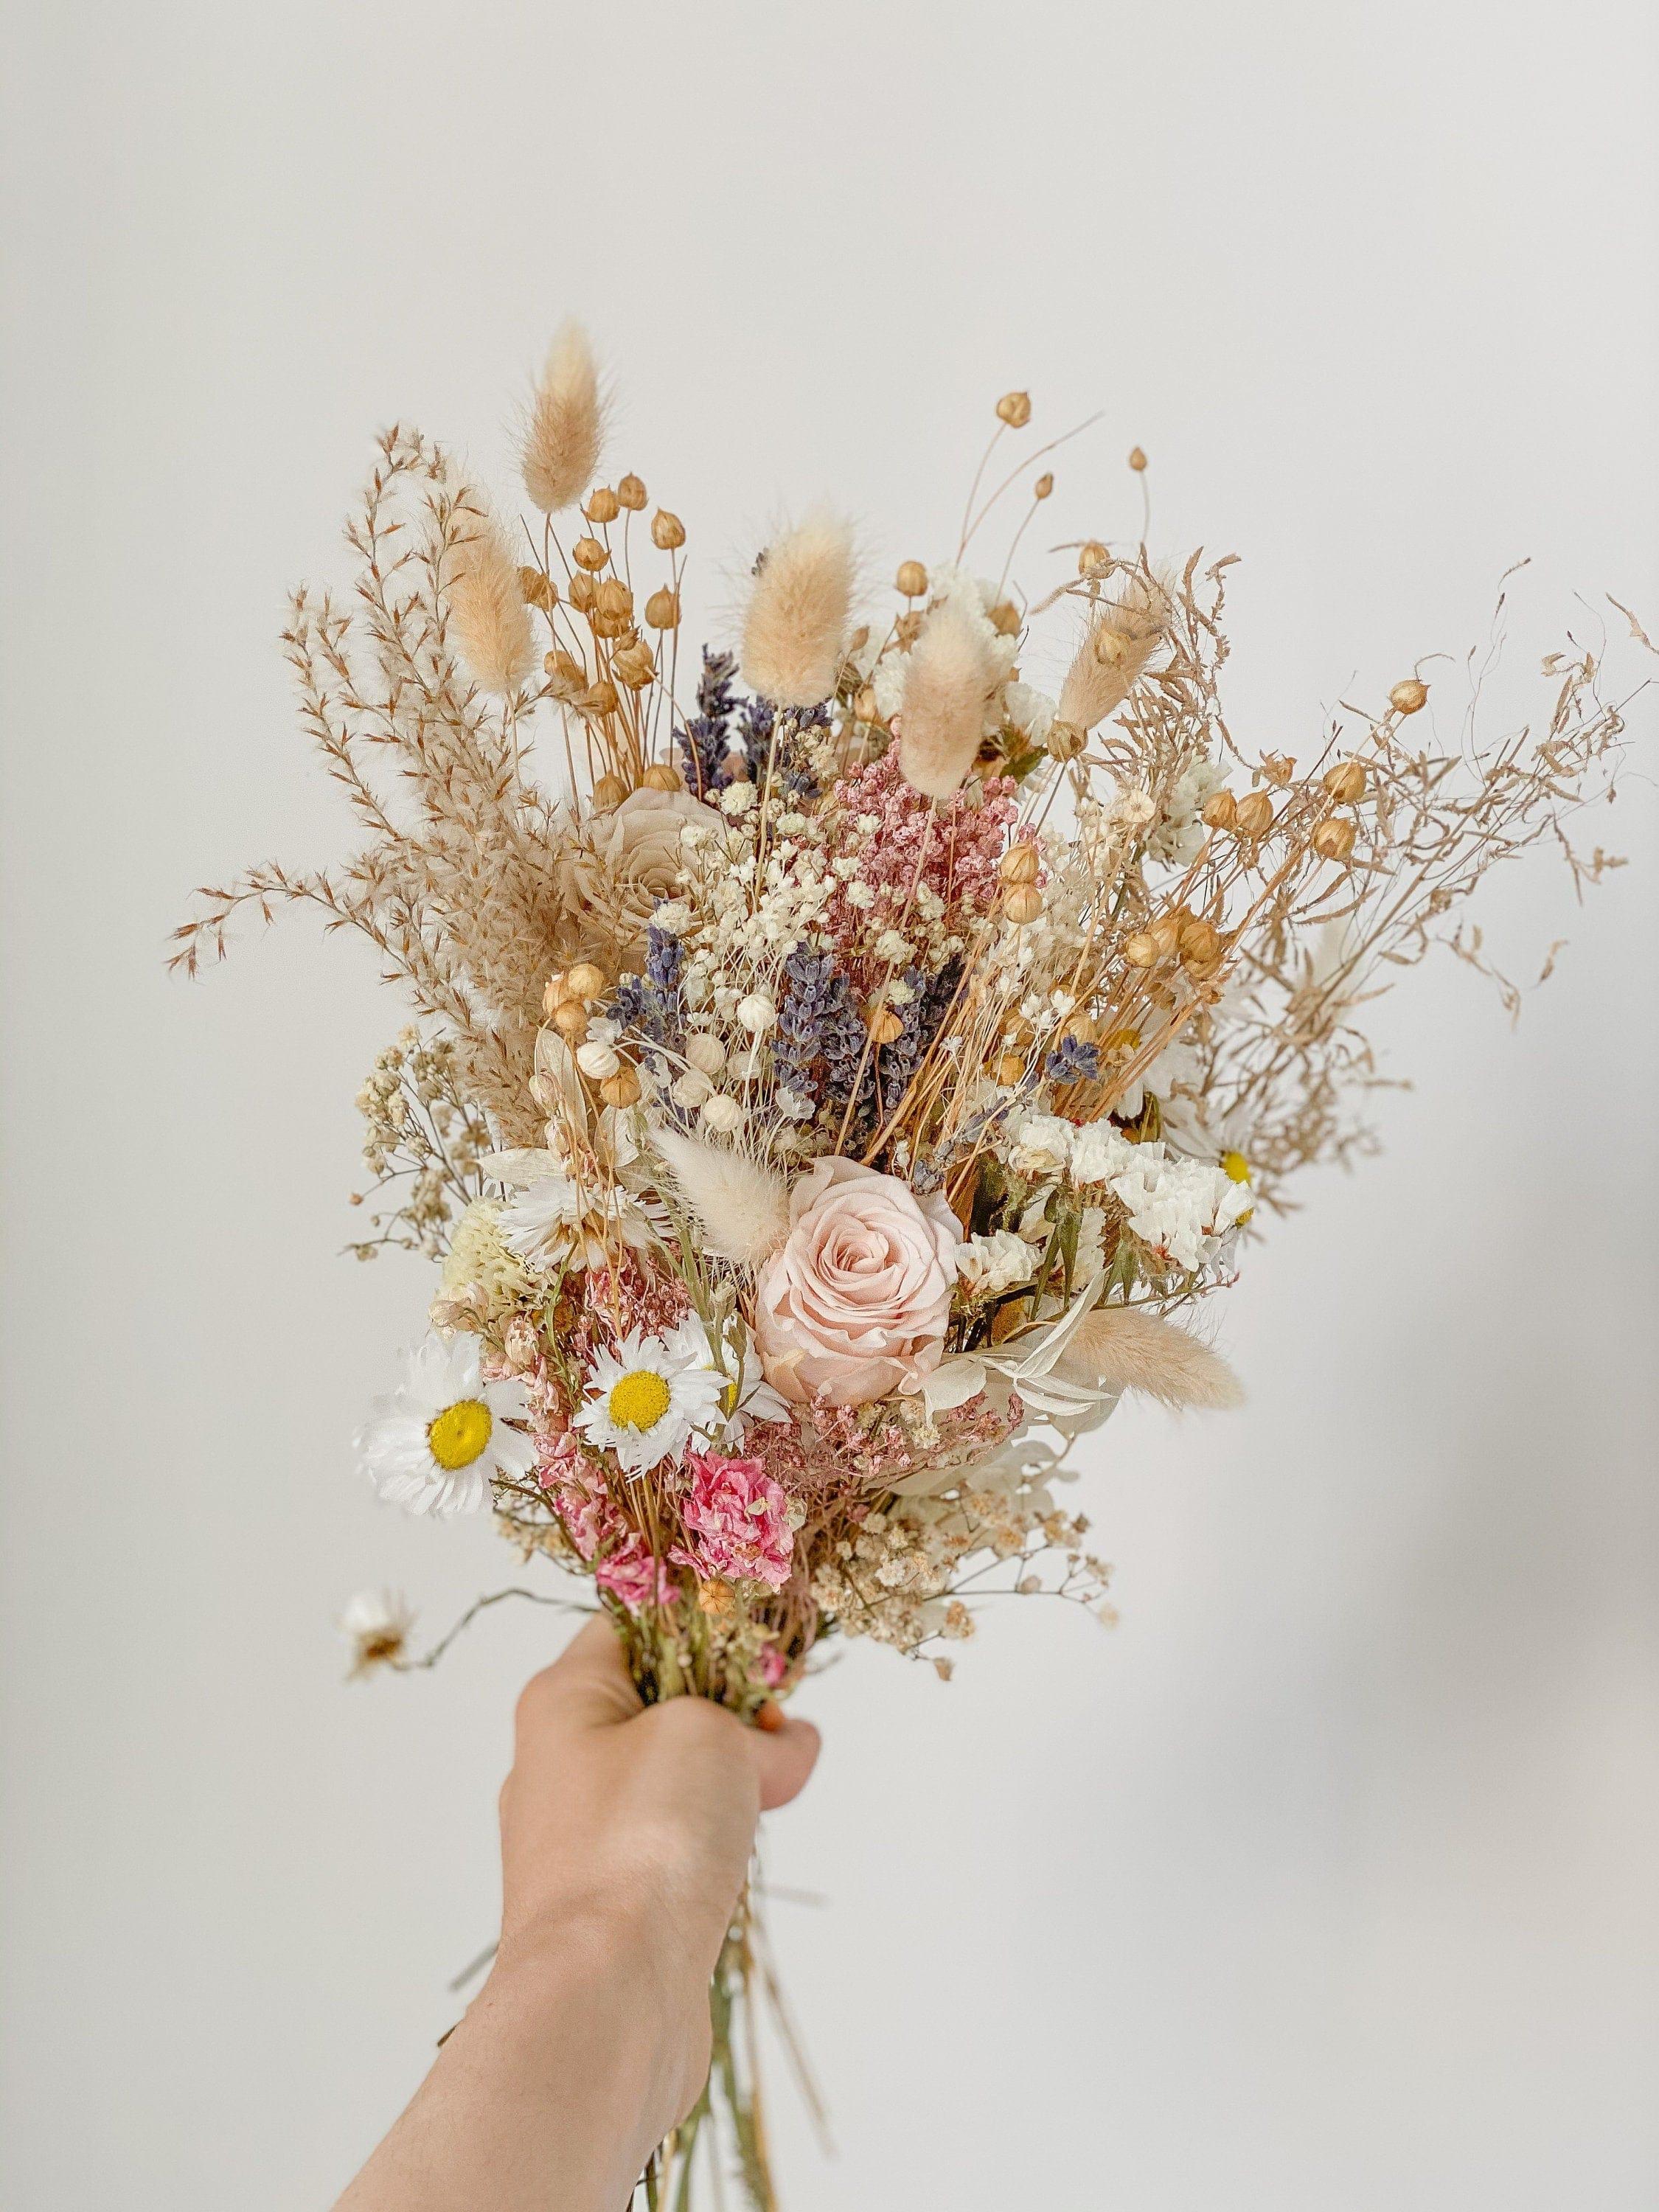
2. Air Drying Flowers by Suspension: Effective and Simple Method
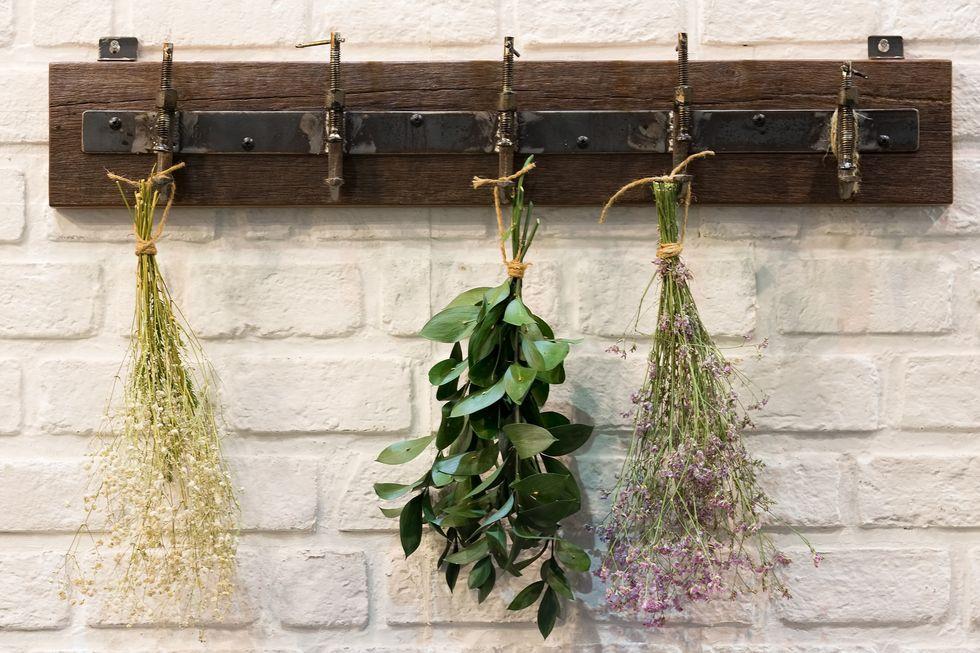
Air drying flowers by suspension requires a dark, dry, and well-ventilated room, such as an attic or a garage, to avoid direct sunlight. The duration of this process depends on the type and size of the plant.
Here's how to proceed:
For flowers:
- Harvest the flowers early in their bloom and remove 2 to 3 leaves or all leaves if you only want the flower itself.
Form small bunches by tying 5 to 10 stems at the base. Use preferably a rubber band or twine to tie every 2 to 3 stems, as well as the final bouquet, to prevent it from falling apart after drying. Be careful not to exert excessive tension on the ties to avoid moisture buildup.
Hang the bunches upside down on a taut rope (string, fishing line), at least 15 cm from the ceiling, spacing them 10 to 15 cm apart using hooks (paperclips or clothespins). Ensure that the flowers are well aerated in each bunch and that the stems do not touch.
Let the flowers dry by suspension for 15 to 30 days. In the case of thick and dense petals, or if conditions are not optimal, the duration may be extended up to 35 to 40 days. The flowers will be dry when the petals are hard and brittle to the touch.
For grasses:
- Harvest grasses and cereals a few days before they begin to bloom or after the spikes turn a light straw color.
After harvest, cut the ends of the stems to the same level, while the tips of the spikes should be cut at different heights.
To dry wheat and other grasses and cereals, follow the same procedure.
Florist Tips:
It is recommended to group different types of flowers separately during drying.
Large flowers, such as hydrangeas, peonies, roses (after removing thorns), and lilacs, dry better when dried individually.
What flowers are best suited for air drying
Air drying is particularly effective for several types of plants, including:
Ornamental grasses and cereal spikes (rye, wheat, barley, etc.). Medicinal or aromatic species such as St. John's wort, mint, thyme, and sage. Flowers such as cornflower, hydrangea, decorative garlic, poppy, rose, lilac (to be cut immediately after the first lower flowers bloom), and physalis.
However, it should be noted that this method is not suitable for flowers with delicate and fine petals, such as narcissus and peony
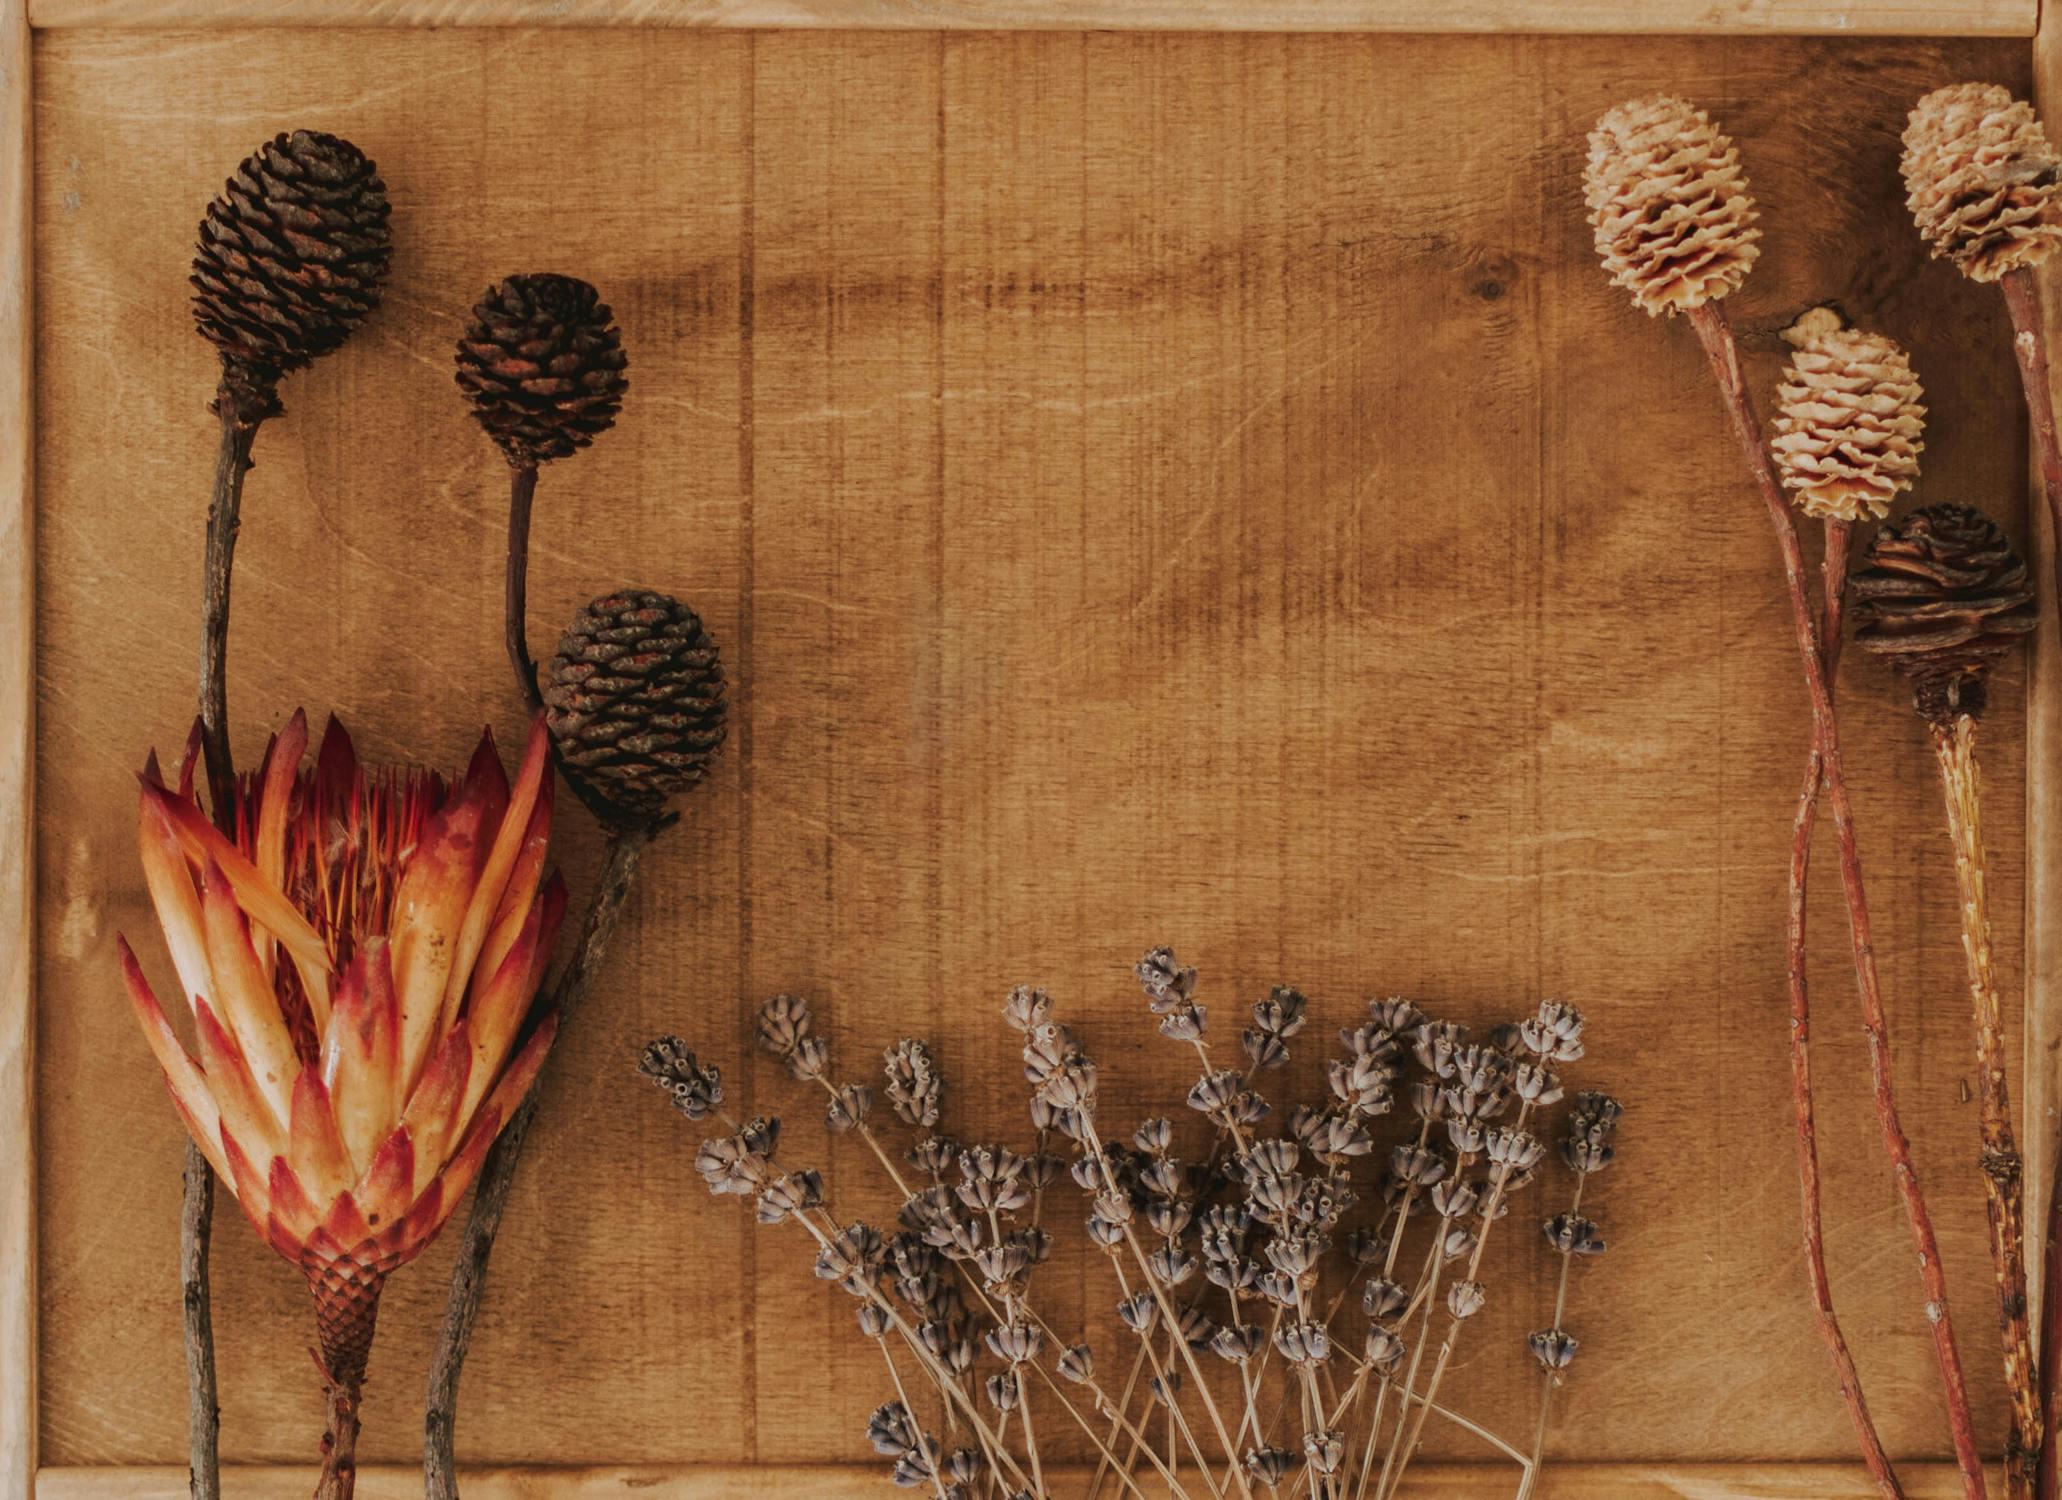
3. Air Drying without Suspension: Practical Alternative Method
If you're unable to suspend the plants, an alternative method involves wrapping them in tissue paper or rice paper, then laying them out on cardboard or placing them in boxes. Flowers typically dry within 14 to 20 days using this technique.
This method is ideal for the following plants: ammobiums, periwinkles, heathers, baby's breath, goldenrods, statice, lavenders, echinopsis, and others.
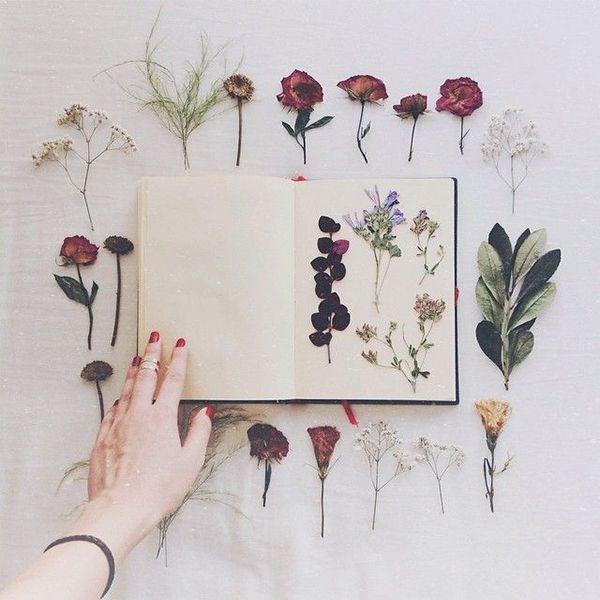
4. Flower Pressing or Book Drying: Traditional and Effective Method
Drying flowers and plants using a book or flower press is a simple, affordable, and widely used technique. It's often employed by botanists for creating herbariums, by jewelry artisans, and by enthusiasts of dried flowers.
For this method, it's recommended to use standard printing paper or rice paper towels to protect the flowers from contact with printing ink and to facilitate the removal of dried flowers from the book. Opt for A5 size paper or an A4 sheet cut in half, then folded in half to create a sort of envelope.
Place your flowers in a paper envelope
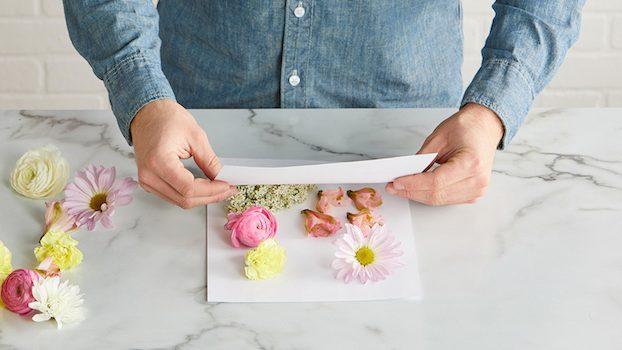
Gently, trim the flower, taking care to remove the leaves and stem if necessary, using scissors. Create a bookmark by writing the name of the flower, the date, and optionally any remarks or the location of discovery. Lay the flower on the "envelope" paper, carefully spreading out the petals and leaves. Apply gentle pressure with your fingers to secure the position of the plant. Carefully close the bookmark and place it in the book. Add a small weight on top, such as a stack of books, a package of cereal, or salt, to promote the drying process. Florist Tips for Drying Flowers in a Book Generally, flowers and plants take 30 to 60 days to dry completely and become perfectly flat.
To optimize this process, here are some tips:
Use an old book with paper yellowed by time, but insert your plants into a white envelope. This type of paper absorbs moisture better than dense, glossy white paper. Leave at least 5 to 10 pages between each bookmark containing dried specimens for better moisture absorption and to prevent moisture from wetting the book. Prepare your paper envelopes in advance and leave them in the book to save time during collection. As soon as you find a flower, cut it and immediately place it in the book. Organize your specimens by placing, for example, every 5 or 10 pages depending on their size (5, 10, 15... or 10, 20, 30...). Put all your plants in the book to dry at the same time. Avoid adding fresh specimens to flowers that are already almost dry, as this could lead to mold in the entire collection.
5. Pressing Plants: Ideal Method for Various Artistic Uses
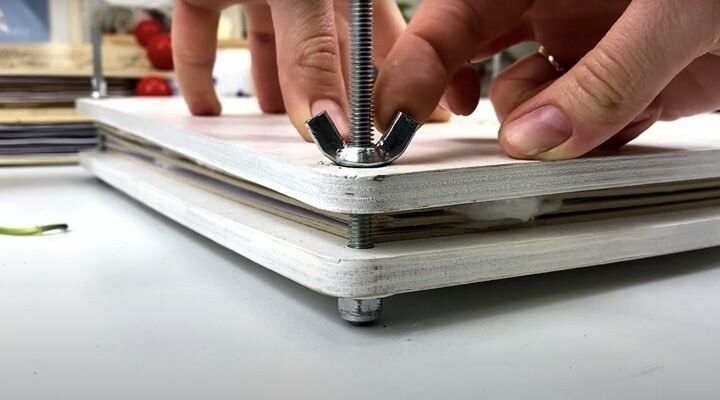
This technique is perfect for drying plants used in the creation of panels, paintings, and of course, herbariums. You can use special presses for drying flowers, or make your own by pressing with glass.
Here's how to proceed:
Arrange the flowers in a single layer on a board (cardboard, plywood) covered with rice paper towels, newspaper, office paper, or tissue paper. Cover the plants with a sheet of paper, then plywood (or thick cardboard), and place a weight evenly (stack of books, sandbag, etc.). Summary: cardboard-paper-flower-paper-cardboard. To speed up drying, replace the soaked paper every 1 to 3 days. The average drying time under pressure is 5 to 7 days to 15 to 20 days. After removing the flowers from the press, especially those with blue hues, it is advisable to place them for 2 to 4 days on a layer of fine sand approximately 1 to 2 cm thick (or fine wheat semolina) on a tray or in a box, lightly sprinkling sand over them.
What flowers are ideal for pressing?
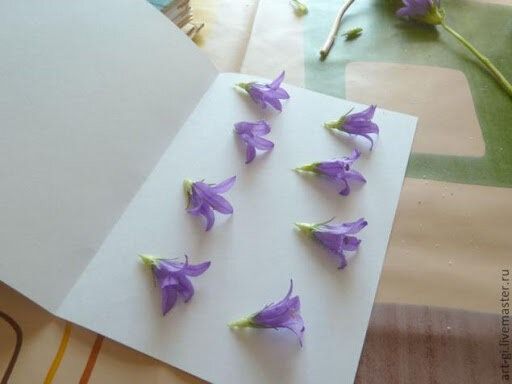
Plants with a relatively flat shape and small, flat flowers are most suitable for drying in a book and under pressure. Among these are most meadow plants and wildflowers, as well as medicinal herbs such as pansies, clematis, all forms of bells, mallows (hollyhocks), ferns, primroses, lilacs, violets, and most aromatic herbs.
Florist Tips for Drying Flowers:
When preparing your flowers for drying, consider these practical tips:
Place pansies face down for optimal drying. For bells, it's best to position them with the narrow side closest to the fold of the paper. This technique helps maintain the desired position of the flower when closing the envelope and during drying.
6. Practical Guide for Drying Flowers while Preserving their Volume
This method offers the advantage of preserving the appearance of the plant to the maximum extent. Generally, the shape and color of the flower are perfectly preserved, the petals do not darken but instead acquire a more saturated color, and they do not shrink.
Here are the steps to follow:
Cut the flowers during dry weather to avoid any moisture on the petals. Separate the flower head with a portion of the stem of 2 to 3 cm and insert a wire into it. Wrap the excess wire under the flower. In a deep container (bowl, cup, box, pot), pour a loose layer of 3 to 4 cm of moisture-absorbing substance, such as silica gel, flour, or sand. The larger the flower, the thicker the layer of dehydrating agent at the bottom of the container should be. Then, arrange the flowers upside down on top. Gently pour the powder between the petals to separate them and allow the dehydrating substance to penetrate the heart of the flower. Seal the container tightly and place it in a dry, warm place, or, if it's open, in a well-ventilated room. After 3 to 4 days, check with a toothpick if the plants have dried properly. The drying time varies: from 2 to 4 days for small flowers, 6 to 7 days for large ones with silica gel, 6 to 12 days with flour, semolina, or borax powder, and 15 to 20 days with sand. When the edges of the petals are hard and dry to the touch, remove the flower with tweezers. Gently shake off the dehydrating agent residues with a soft brush or blow with a rubber pear. Then, attach the flower to its stem separately using a thin wire.

Silica gel: the ideal substance for absorbing moisture from flowers to be dried
Among the substances available for absorbing moisture from flowers to be dried, silica gel stands out as one of the most effective choices. Known for its ability to maintain a dry environment, silica gel preserves the colour and shape of flowers as they dry. This substance is widely used in the flower drying process because of its superior performance and ease of use.
Astuces de fleuriste pour sécher les fleurs dans diverses substances absorbantes
When choosing absorbent materials for drying flowers, keep these practical tips in mind:
- In a large container, you can dry the flowers in several layers.
- Flowers such as gerbera, calendula (marigold), daisy, camomile and zinnia will dry best if placed head up.
- Comfrey and snapdragons are best dried horizontally.
What flowers are best for drying in absorbent substances?
The primary drying method is ideal for all voluminous, fragile, and delicate flowers with petals securely attached to the base. Choose flowers that have only half bloomed and dry them immediately after cutting. The assortment is vast: aster, marigold, carnation, dahlia, hyacinth, delphinium, sweet peas, calendula, bellflowers, cosmos, lily of the valley, lily, ranunculus, daisy, narcissus, orchid, peony, primrose, rose, lilac, violet, celosia, chrysanthemum, freesia, and others.
Which dehydrator to choose for drying flowers by absorption?
Among the most popular substances that absorb moisture well are white flour, borax (sodium tetraborate), cornmeal, semolina, oat flour, perlite, silica gel, and salt.
Drying flowers with white flour or cornmeal and borax: inexpensive substances, but borax is not always easy to buy. The drying time is 8 to 18 days.
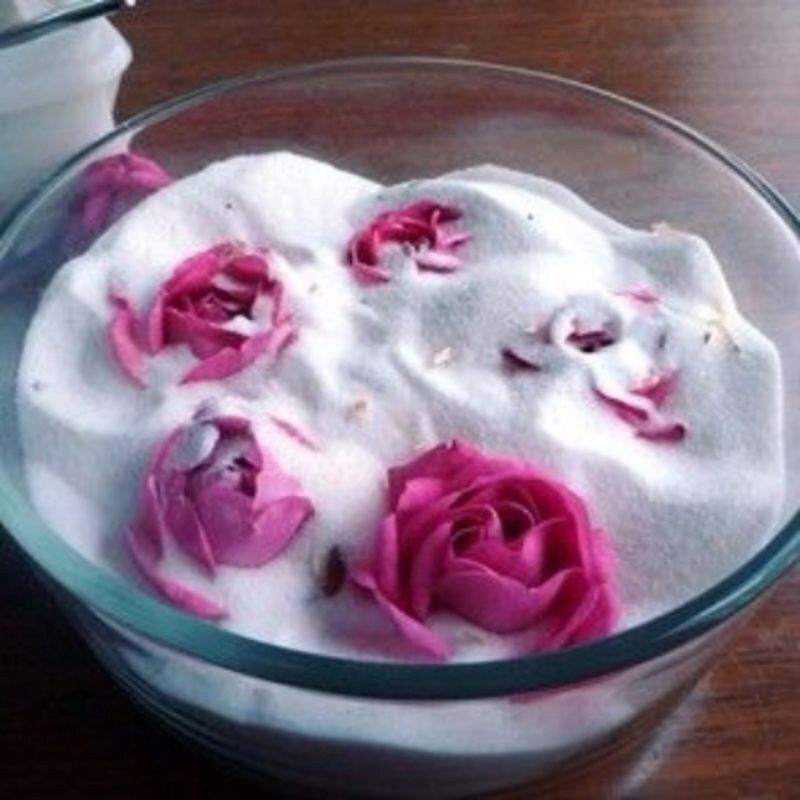
Using semolina: the drying result is similar to that of salt, but the flowers are cleaner after semolina. River sand: sift and calcine the sand in the oven first for disinfection. The drying time is 10 to 25 days. Silica gel: a reusable substance, drying takes 2 to 7 days, depending on the size of the flowers. Salt: thanks to its high hygroscopicity and low cost, salt is a popular option for drying flowers. The waiting time is 30 to 35 days.
Florist's tips for drying roses
When choosing a container for drying roses in salt, keep these practical tips in mind:
- Choose a container (glass, jar) with a diameter of
- he volume is not much larger than the flower. Too much salt could lead to increased weight, increasing the risk of breaking flower parts.
- Choose fine salt, as it is able to penetrate deeper into the heart of the flower and absorb moisture effectively.
- The small, voluminous flowers are ideal for drying in a dryer.
- salt. In the experience of drying masters, bells (such as bluebells) and lightly flowering buds (such as rosehips) do well in salt.
Drying Flowers in Absorbent Cotton Wool
In addition to traditional loose substances, you can opt for hygroscopic cotton wool or makeup pads to dry your flowers. This method ensures effective preservation of the shape and color of the petals. Each petal, even those at the heart of the flower, is wrapped in pieces of cotton.
Here are the steps to follow:
Wrap each petal with pieces of hygroscopic cotton wool or makeup pads. Then hang the plant by the stem on a hook or rope. Flowers are typically dried for 5 to 6 days, but the cotton should only be removed after the stem has completely dried.
This method provides a practical alternative for drying flowers while preserving their appearance and color.

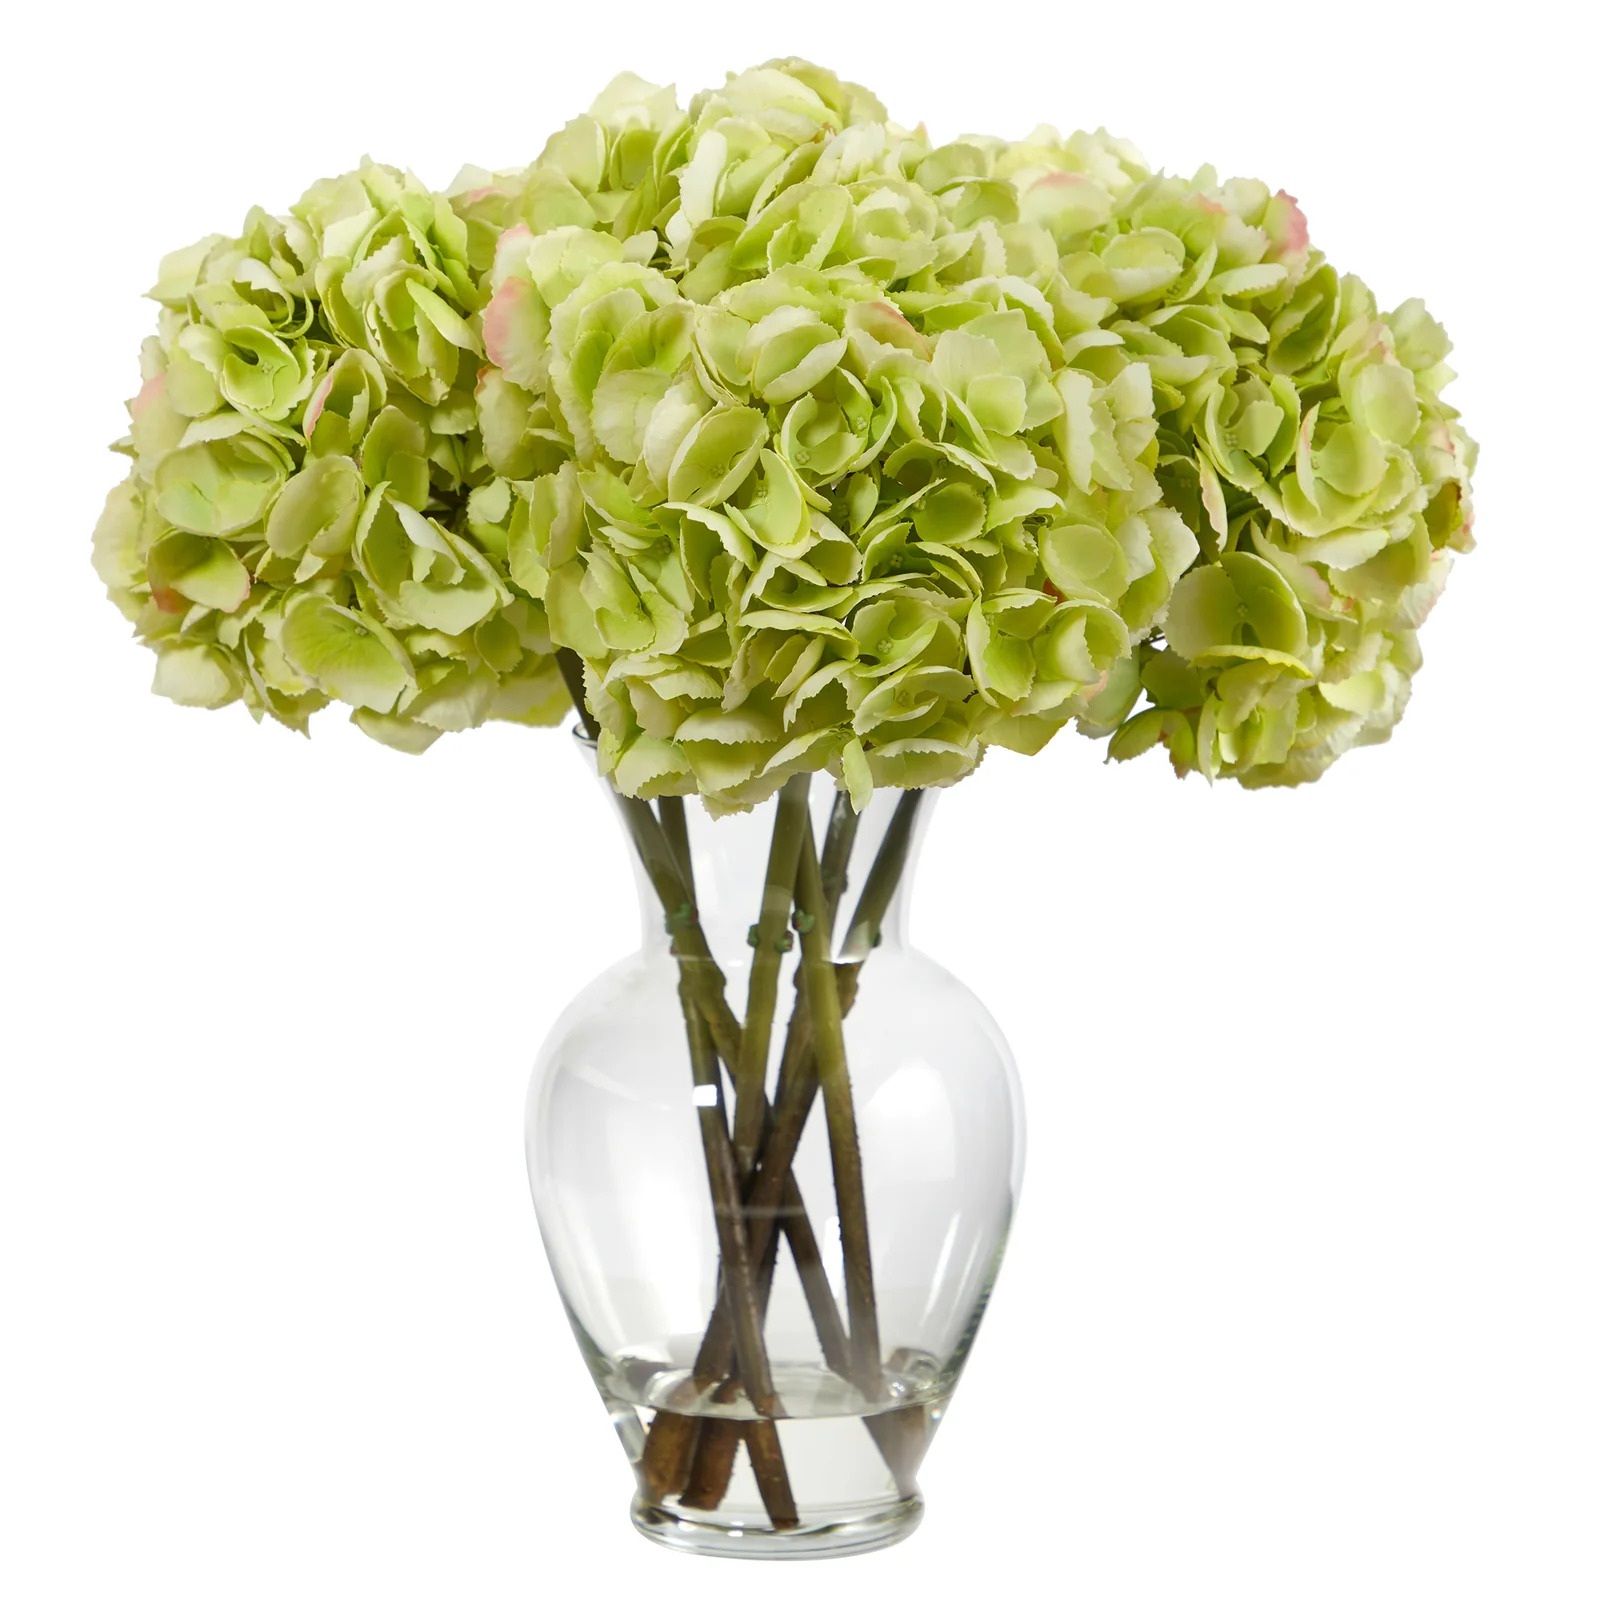
8. Use of Toilet Paper for Drying Flowers:
It's important to note that toilet paper produces flatter flowers after drying, and its texture may leave marks on the petals. However, the flowers do not disintegrate during this process.
9.Preserving Flowers in Glycerin and Paraffin:
- The method of preserving flowers in glycerin and paraffin is ideal for the branches and dense leaves of shrubs and trees. It's worth noting that dead leaves or green shoots do not react well to glycerin. After this preservation process, the shape, size, and elasticity of the plant remain unchanged as glycerin replaces water by impregnation. However, this technique, often used for semi-industrial purposes, is difficult to replicate at home. Additionally, over time, the coloring of the flowers may acquire greenish-brown, brownish, or beige hues. Despite this, once dried, the flowers can be painted with paint of any color.
You can choose from three different methods to dry hydrangeas:
- Hanging in dry air
In a vase with a little water
In a vase containing a mixture of water and glycerin
Here are the steps to follow:
Remove the lower leaves and cut the stem in the middle with a knife or make a slanted cut and crush the tip.
- Place the plants in a vase of water for 3-4 hours. Pour the solution (hot water, glycerin – 2:1, mix well) into a container to a height of 6-9 cm and place your plants in it. Transfer the container to a dark and cool place (cellar, closet on the balcony) for 10 to 20 days, sometimes 5 to 6 weeks, depending on the size of the plant, until the leaves have a shiny appearance. Periodically wipe moisture drops off the leaves with a cloth and replenish the solution as it evaporates. If not wiped, they curl and dry out. The following flowers and plants can be effectively stabilized with glycerin: Hydrangeas (special varieties) Amaranth Badan Barberry Dogwood Cypress Fern Additionally, oak, maple, and laurel leaves can also be treated with glycerin to become flexible and shiny.
Paraffin
Paraffin is a simple and effective method to preserve your cut flowers, including bouquets gifted by your loved ones. Almost all varieties of flowers can be treated with paraffin. Here's how to proceed:
Dip a brush into melted neutral-colored paraffin. Gently treat each petal, starting from the tip of the flower and moving towards the center of the bud. Allow each petal to dry completely before moving on to the next. This method helps preserve the beauty of your cut flowers for an extended period.
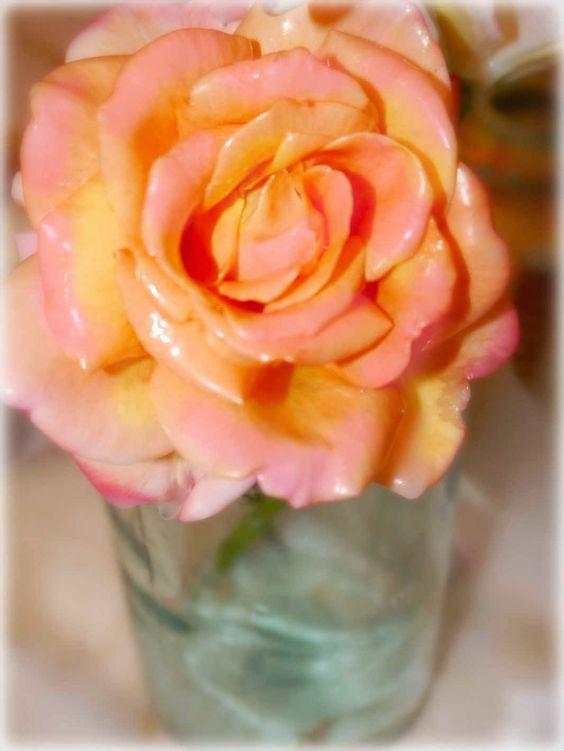
To quickly dry flowers and plants, especially when time is of the essence, there are several rapid methods available. Among these, microwave drying and using a clothes iron are notable.
If you need to quickly dry flowers and plants, especially for urgent projects like creating a school herbarium, there are several rapid methods available. Among these, microwave drying and using a clothes iron are notable.
These techniques expedite the drying process, offering a practical solution for time-sensitive situations.
11. Which flowers are suitable for microwave drying?
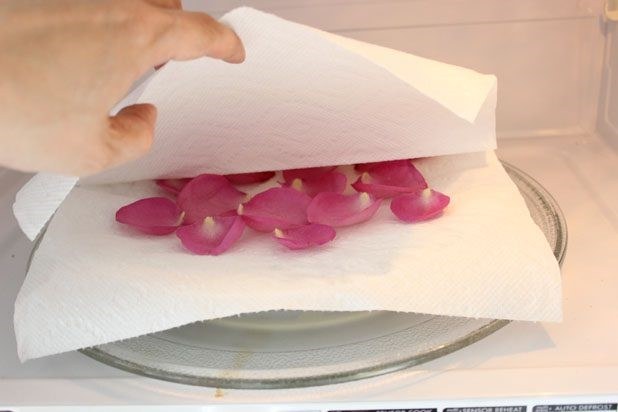
This method is particularly suitable for flowers with many smooth petals, such as:
- Pansies
- Carnations
- Dahlias
- Baby's Breath
- Goldenrod
- Marigolds (Calendula)
- Lavender
- Cuff
- Daisies
- Peonies
- Roses
- Chamomile
- Zinnias
However, it is not recommended to microwave flowers with thick petals.
Florist Tips:
- Ideally, use a container with a desiccant (silica gel, flour, etc.) for microwave drying.
- After the process, allow the container with the desiccant to cool for 12 to 36 hours to prevent excessive drying of the flower.
- The denser and more numerous the petals, the longer the drying time: approximately 7 to 8 minutes at medium or high temperature.
- For delicate and fragile flowers like Daisies or Chamomile, use the defrost mode for a gentler effect.
- Despite its advantages, note that this method can result in excessive drying of the flower, which may reduce its visual appeal.
12. Iron Drying Method for Leaves
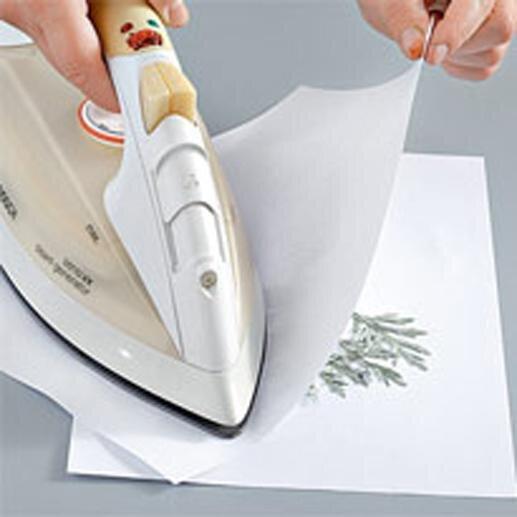
To effectively dry leaves, follow these simple steps:
- Place the leaves between two sheets of paper.
- Gently iron them with an iron.
- After each ironing, replace the paper with a new sheet to avoid any residual moisture.
- Repeat the process until the moisture is completely evaporated.
This method is particularly suitable for drying Iris and Crocosmia leaves.
By using this technique, you can achieve perfectly dried and preserved leaves for use in various creative projects.
10 Tips for Perfect Flower Drying: Maintain Shape and Brilliance!
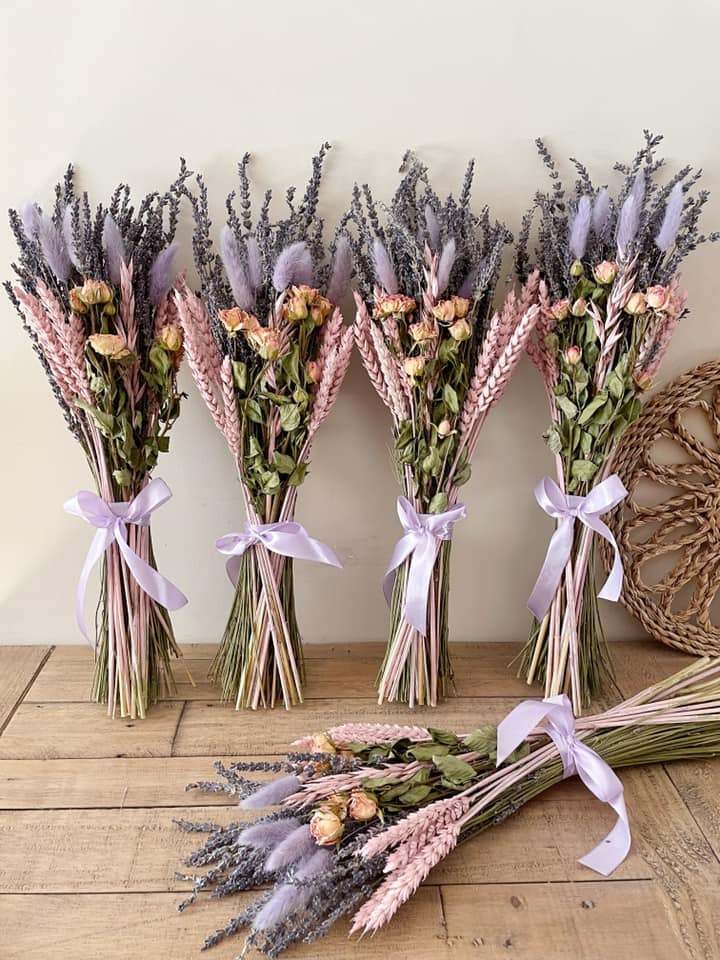
- Use fresh and healthy flowers for optimal drying results.
- Prefer flowers with smooth and abundant petals for better preservation of their shape.
- Avoid drying flowers with thick petals in the microwave to prevent excessive drying.
- Opt for a container with an absorbent like silica gel or flour for microwave drying.
- After drying, let the container with the absorbent cool for 12 to 36 hours to prevent excessive drying.
- Adjust the microwave temperature based on petal density. The denser the petals, the longer the drying time.
- For delicate flowers like daisies or chamomile, use the microwave defrost mode for gentle drying.
- Note that despite its benefits, microwave drying can lead to excessive drying, reducing the flowers' visual appeal.
- To effectively dry leaves, layer them between two sheets of paper and gently iron them with a clothes iron.
- Use the dried leaves in various creative projects while preserving their natural shape and brilliance.
With these tips, you'll achieve optimal flower drying while retaining their beauty for use in different decorative and artistic endeavors.
Uses of Dried Flowers: Inspiration for Creative Projects!
Dried flowers offer endless versatility in various artistic and decorative projects. Here are some ideas on how to use them:

Wall Decorations:
Frame dried flowers to create artistic and unique wall decorations. This adds texture and color to your interior.

Wreaths and Garlands:
Use dried flowers to make seasonal door wreaths or garlands to adorn your home year-round.

